Run A Farm Crops and Farming Guide
Unlock fields, sow Wheat through Pumpkin, speed growth with Sprinklers, then push toward greenhouse cash crops.
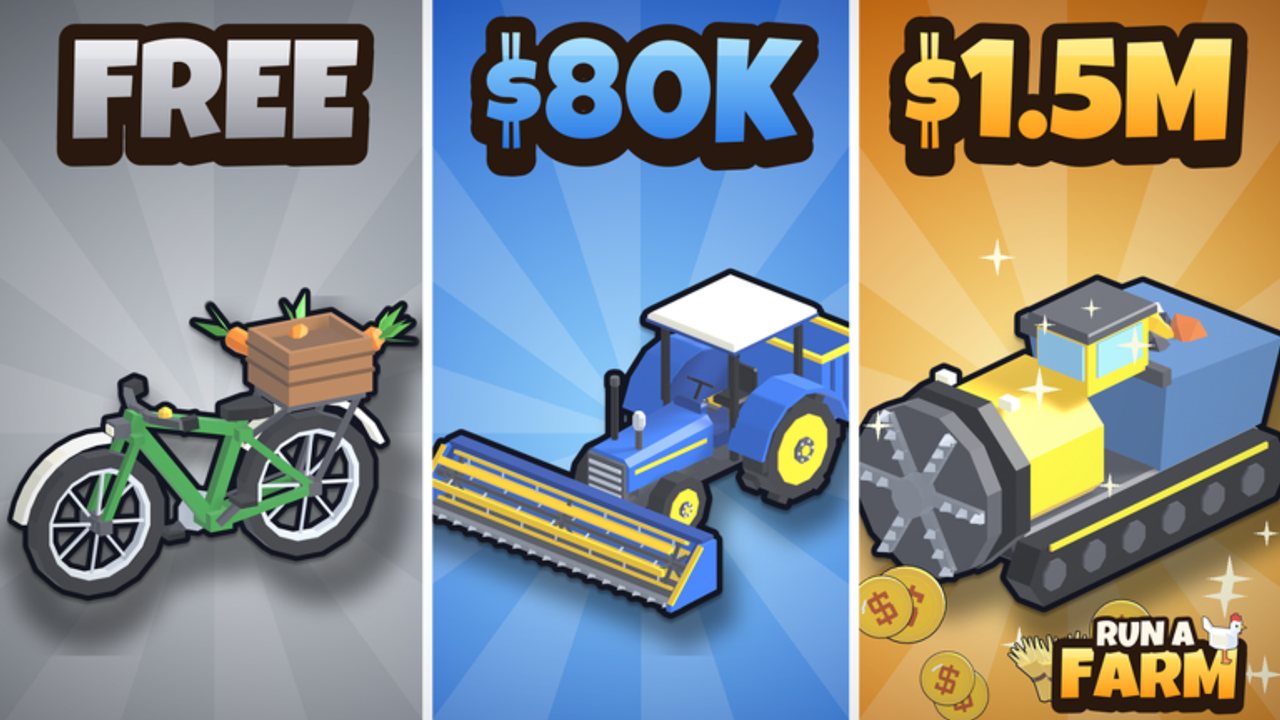
Crops turn Run A Farm! from a chicken stand into a real tycoon. After the egg loop funds your first cash pile, you buy land, seeds, and eventually workers and trucks that move harvests to Town Park. This guide covers Field 1, the Seed Market, Wheat versus Carrot, Sprinklers, Planter and Farmhand roles, Storage racks, and the harvest → truck → town pipeline. Brush up on Getting Started if you still lack Field 1 money, and keep a Stocker hired so egg sales continue while you farm.
Unlock the crop lane
Two cheap buildings open farming:
| Structure | Cost | Function |
|---|---|---|
| Seed Market | $50 | Stand labeled to buy and unlock seeds |
| Field 1 | $120 | First plantable plot |
Buy Seed Market first if you want the shop UI ready, then Field 1 so you have somewhere to sow. Without a field, seeds are dead weight. Without the market, the field stays empty. Together they create the second income loop beside eggs.
Optional same-tier buy: Sprinklers ($120) advertise crops grow 30% faster. On short Wheat timers, that buff compounds every cycle and is usually worth grabbing before fancy vehicles.
Wheat vs Carrot
| Crop | Grow time | Approx. value | Unlock |
|---|---|---|---|
| Wheat | ~30 seconds | ~$2 | Available early at Seed Market |
| Carrot | ~45 seconds | ~$5 | $400 unlock |
Wheat is the training crop: fast feedback, low risk, perfect while you learn sow → wait → harvest. Carrot costs a chunky unlock but pays more per plant. Unlock Carrot after Wheat cycles feel automatic and you have spare cash beyond Farm Office or Sprinklers. Do not unlock Carrot while your stand is still underpriced—egg price pads and hens often beat a premature $400 seed unlock. Compare priorities on the tier list.
Planting loop step by step
- Buy seeds at the Seed Market.
- Sow the empty field yourself, or wait for a Planter worker.
- Let the growth timer run; Sprinklers shorten the wait by ~30%.
- Harvest ripe crops by hand or with a Farmhand / later tractor route.
- Move crops into Storage when racks exist, then load a truck for Town Park drop-off.
- Empty fields return to sowable state—repeat.
Harvesting without a town route leaves you holding produce. Early on you may sell smaller loads; once Garage ($1,200) opens a TRUCK BAY, bulk town trips become the real payday. Vehicle details live in the vehicles guide.
Sprinklers: when the 30% matters
Sprinklers cost the same as Field 1 and permanently accelerate growth. They shine when:
- You already reseed quickly and hate idle staring.
- Planters/Farmhands are hired and the bottleneck is the timer, not labor.
- You are stacking multiple fields later and every cycle multiplies.
If you still fumble RESTOCK and egg prices, finish the eggs and stand basics before Sprinklers. Growth speed cannot fix a broken cash loop upstream.
Planter and Farmhand roles
Hire from the Farm Office ($500) panel:
| Worker | Hire cost | Job | Capacity / slots |
|---|---|---|---|
| Planter | $400 | Sows empty fields with your seeds | 1 field per trip; 2 slots |
| Farmhand | $1,020 | Harvests ripe fields | 15 crops per trip; 6 slots |
Planters remove the sow chore. Hire one when you own seeds + Field 1 and keep forgetting to replant. Farmhands remove harvest walking. Hire them when ripe fields sit ignored while you restock eggs or dig ore. You can run up to two Planters and six Farmhands—fill slots as field count grows, not on day one.
Tractor Driver stays locked until you build a Tractor Barn. Tractors speed field clearing; pair that unlock with the workers and vehicles pages before sinking cash.
Upgrade Walk Speed and Carry on crop workers you keep. Carry helps Farmhands move 15-crop loads more often; speed shortens every sow/harvest trip.
Storage racks and town delivery
Storage ($800) holds 120 crops. Buy it when hand-carrying becomes the bottleneck between harvest and truck. Full racks feed Garage runs cleanly. Skipping Storage while owning a truck means awkward partial loads and wasted trips.
Delivery flow:
- Harvest into inventory / storage.
- Load via Garage TRUCK BAY.
- Drive to Town Park crop drop-off.
- Return, reseed, repeat.
Late quests such as Deliver 275 Potato (~$7,700) assume you can move large volumes—Storage + truck are prerequisites, not optional cosmetics. Money pacing for these spikes is covered in make money fast.
Balancing crops with eggs and mining
Never shut down the egg stand to stare at Wheat. A single Stocker ($550) keeps STAND fed while you sow. When crop automation is online (Planter + Farmhand), free hands can open mining for ore income. Community tips often suggest serious mining after a solid mid-game bankroll; crops should already be looping by then.
Suggested mid-game stack:
- Egg prices upgraded + Stocker hired.
- Field 1 + Wheat + Sprinklers.
- Planter, then Farmhand as fields ripe up.
- Storage → Garage → town route.
- Carrot unlock and Tractor Barn when cash allows.
Full field seed ladder
Beyond Wheat and Carrot, the Seed Market lists more field crops as you unlock them. Observed shop values (subject to patches):
| Crop | Grow time | Sells for | Unlock notes |
|---|---|---|---|
| Wheat | ~30s | ~$2 | Starter seed |
| Carrot | ~45s | ~$5 | ~$400 unlock |
| Corn | shop timer | ~$12 | Mid field crop |
| Potato | shop timer | ~$28 | Mid/late field crop |
| Pumpkin | shop timer | ~$70 | Unlock ~$90,000 |
Treat these as printed sale values, not guaranteed profit-per-hour. Pumpkin is still a field crop—do not confuse it with the seasonal Giant Pumpkin objective that needs feeding and watering, or with greenhouse seeds tagged GREENHOUSE.
Greenhouse vs fields
When your egg stand, Storage, and town truck loop are saturated, the Seed Shop shows four GREENHOUSE cards: Strawberry ($60,000), Tomato ($140,000), Watermelon ($320,000), and Pineapple ($700,000). They require building Greenhouse 1 first and unlocking each crop in order. Full unlock order, prep checklist, and reported build costs live on the greenhouse guide. Keep field crops looping while you save—greenhouse cash is late-game scaling, not a replacement for Wheat cycles on day one. Structure prices and buy order are summarized in farm expansion.
Mistakes to avoid
- Buying Farmhands before any field exists.
- Unlocking Carrot while egg prices are still $2.
- Ignoring Sprinklers yet complaining about slow grows.
- Building Garage with nowhere to store 120 crops.
- Leaving ripe fields idle while AFK at the mine with no Farmhand.
Related guides
- First-session funding: Getting Started
- Keep eggs selling: Eggs and Stand
- Hire order and upgrades: Workers
- Bike, tractor, truck bay: Vehicles
- Purchase ranking: Tier List
Own Field 1, loop Wheat with Sprinklers, automate sow/harvest, then truck to town. That crop spine—plus a living egg stand—carries you into late delivery quests and mining upgrades without Robux.
Frequently Asked Questions
Quick answers to the most common questions.
What do I buy first for crops?
Purchase the Seed Market for $50 and Field 1 for $120. Then buy Wheat seeds, sow the field, and consider $120 Sprinklers for 30% faster growth.
When should I unlock Carrot?
After Wheat cycles feel stable and you can spare about $400 beyond core upgrades like Sprinklers or Farm Office. Carrot grows ~45s and sells near $5.
What is the difference between Planter and Farmhand?
Planters ($400) sow empty fields one per trip (2 slots). Farmhands ($1,020) harvest ripe crops 15 at a time (6 slots). Hire based on whether fields are empty or ripe.
Why do I need Storage and a Garage?
Storage ($800) holds 120 crops between harvests. Garage ($1,200) creates a TRUCK BAY so you can haul bulk loads to the Town Park drop-off instead of hand-carrying.
Do Sprinklers really matter?
Yes. For $120 they make crops grow about 30% faster, which stacks every Wheat or Carrot cycle—especially once Planters keep fields seeded.
When should I start the greenhouse?
After egg, field, Storage, and truck loops are stable and you can afford Greenhouse 1. See the greenhouse guide for the Strawberry→Pineapple unlock ladder and sale values.